HomeAway V12.NET and Escapia Instructions
STEP 1: Request Partner Connection
In this step, you will contact HomeAway to request the VRScheduler partner HSAPI connection in your dashboard.
- Navigate to the HomeAway Contact Page:
V12 Clients: http://support.homeawaysoftware.com/v12/contact
Escapia Clients: http://support.homeawaysoftware.com/Escapia/contact - From the support portal, Choose Setup and Email:
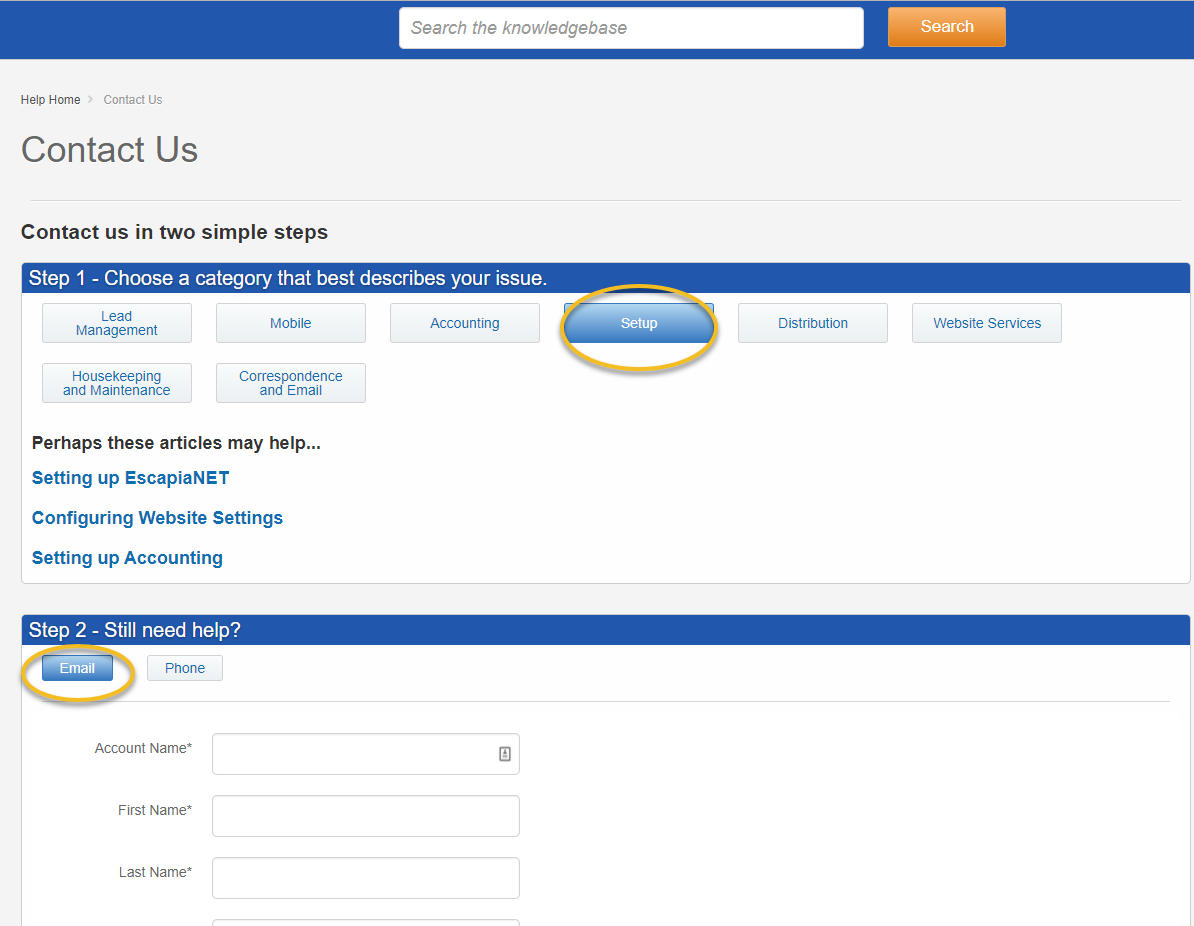
- Enter your information, and the following request:
Subject: Partner Connection for VRScheduler via HSAPI and add VRScheduler to ENET.
Text: Please connect the partner VRScheduler via HSAPI to my account. Please add VRScheduler as a network partner in EscapiaNet. My VRScheduler Contact is: Jill Mason - jill(@)vrscheduler.com
STEP 2: Enable Partner and Permissions
Once your request has been accomodated by HomeAway (24-48 hours), log into your Escapia or V12 dashboard and add VRScheduler as a partner, then give the necessary permissions.
- Navigate to the HomeAway Partner Page:
Instructions: http://support.homeawaysoftware.com/articles/en_US/Article/HASW-HSAPI-Partner-Integration-Information?category=System_Configuration&subdir=haswpartner - On the Edit Permissions, please
- Check "Can Access Unit Addresses" at the top.
- Enable the following methods:
- Can Access Unit Addresses (under Data authorization permissions)
- SearchUnitSummaries
- GetUnitByID
- SearchReservationSummaries
- GetReservationByNumber
- SearchOwners
STEP 3: Choose properties to include in VRScheduler feed through EscapiaNET
- In Escapia navigate to: Admin >Setup >EscapiaNET > Join Escapia NET > I Agree You may have to agree to the terms and conditions at this point.
- Find VRScheduler in the List and choose "Unit Distribution"
- Choose VRScheduler for each property you would like to include in the feed.
STEP 3: Let us know your Home Away Account Number
Email your Account number to help@vrscheduler.com and we will attach it to your account.
Copyright © Operto Teams 2025